Are you searching for the article that will help you to enable HTTPS on your blogger blog with a custom domain?
You are at the right place. In this article, I will explain to you all the steps with the help of which you can easily enable HTTPS on your blogger blog with a custom domain.
Also enabling https on blogspot blog will secure your blog more than it was ever before. This will also protect your blogger blog from unwanted bots or attackers that can hack your blog.

Moreover enabling HTTPS on blogger blog will also improve the ranking in Google search engine. It means it will optimize your website as per the search engine.
Now let me list some advantages of enabling https on a blogger blog with a custom domain.
What is an SSL Certificate?
When a website’s identity is verified through an SSL certificate, an encrypted connection between the user and the website can be established. Security protocol SSL creates an encrypted link between a web server and a browser. To protect customers’ private information and secure online transactions, businesses and organizations must install SSL certificates on their websites—an HTTPS connection results from an SSL certificate installed on a website. A warning appears when a website thinks it has an SSL certificate, but the browser cannot verify it.
Advantages of enabling HTTPS on Blogger Blog:
1) Secure Connection: Enabling https will secure the connection between the visitors and the Google server on which your blog is hosted. By enabling this feature your blog will look more secure as compared to non ssl website.
2) Protection from unknown bots and hackers: This will also help you to protect your unknown bots that can harm your website. Moreover, this will also protect your blog from hackers and spammers.
3) Fast Loading Blog: After enabling https on your blogspot blog, your website speed will fast. It means your website will load fast as you are using a kind of CDN (Content Delivery Network).
4) Improved SEO: Enabling HTTPS will also improve the ranking of your website in the Google search engine.
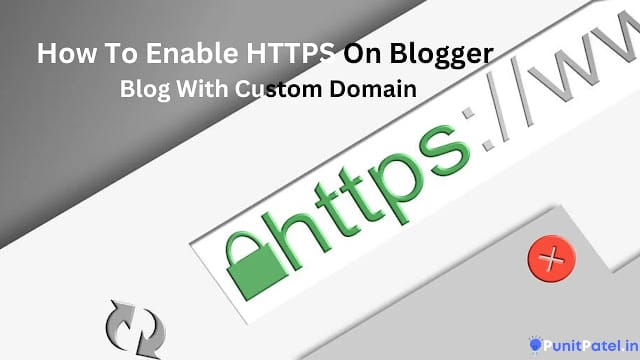
Steps to Enable HTTPS on A Blogger Blog
Step 1: Begin by logging in to your Blogger profile.
Step 2: Decide which blog you wish to use HTTPS for.
Step 3: In the left panel, select Settings.
Step 4: Find the “HTTPS” area at the bottom of the page.
Step 5: As seen in the image below, enable HTTPS.

Step 6: Your blog’s security has now been enabled using the HTTPS protocol. Your visitors can directly view your blog over a secure HTTPS connection.
After Enabling HTTPS on Blogger
After utilizing an SSL certificate, it is possible to have mixed content issues. Diverse content refers to using HTTPS and non-HTTPS links and images in your blog posts and web pages.
- Use Google Chrome to view your blog.
- The Javascript console tab can be opened by pressing the Ctrl+Shift+J keys.
- This could be suitable for the mixed content warning.
It was determined that the page at ‘https://yourcustomdomain.tld/’ requested an unsecured script from ‘http://some-url>/script.js,’ which resulted in ‘Mixed Content.’ The content must be provided over HTTPS, as this request has been rejected.
- Visit the Google Blogger Help page to rectify the issues.
You’ll need to update your blog posts to fix the mixed content warnings. If your blog is more than a year old, you’ll have to execute each step by hand. Please do this for all photos and links, both internal and external, that have been uploaded.
Note:- The enabling process takes time, if your blog has a huge number of posts then it will take a little extra time, we recommend you enable this option at night and leave it for some time.
Conclusion
I hope this article helped you a lot to enable HTTPS on your blogger blog. You can check all our other articles also related to blogger blog.
At last, I want to thank you for reading and following this article to enable HTTPS on your blogger blog.
If you want to suggest something or want to tell us to add something to this article then you can suggest us via the below comment box.
Also don’t forget to give your feedback and valuable comments via below comment box.